
Know what a storyboard is for
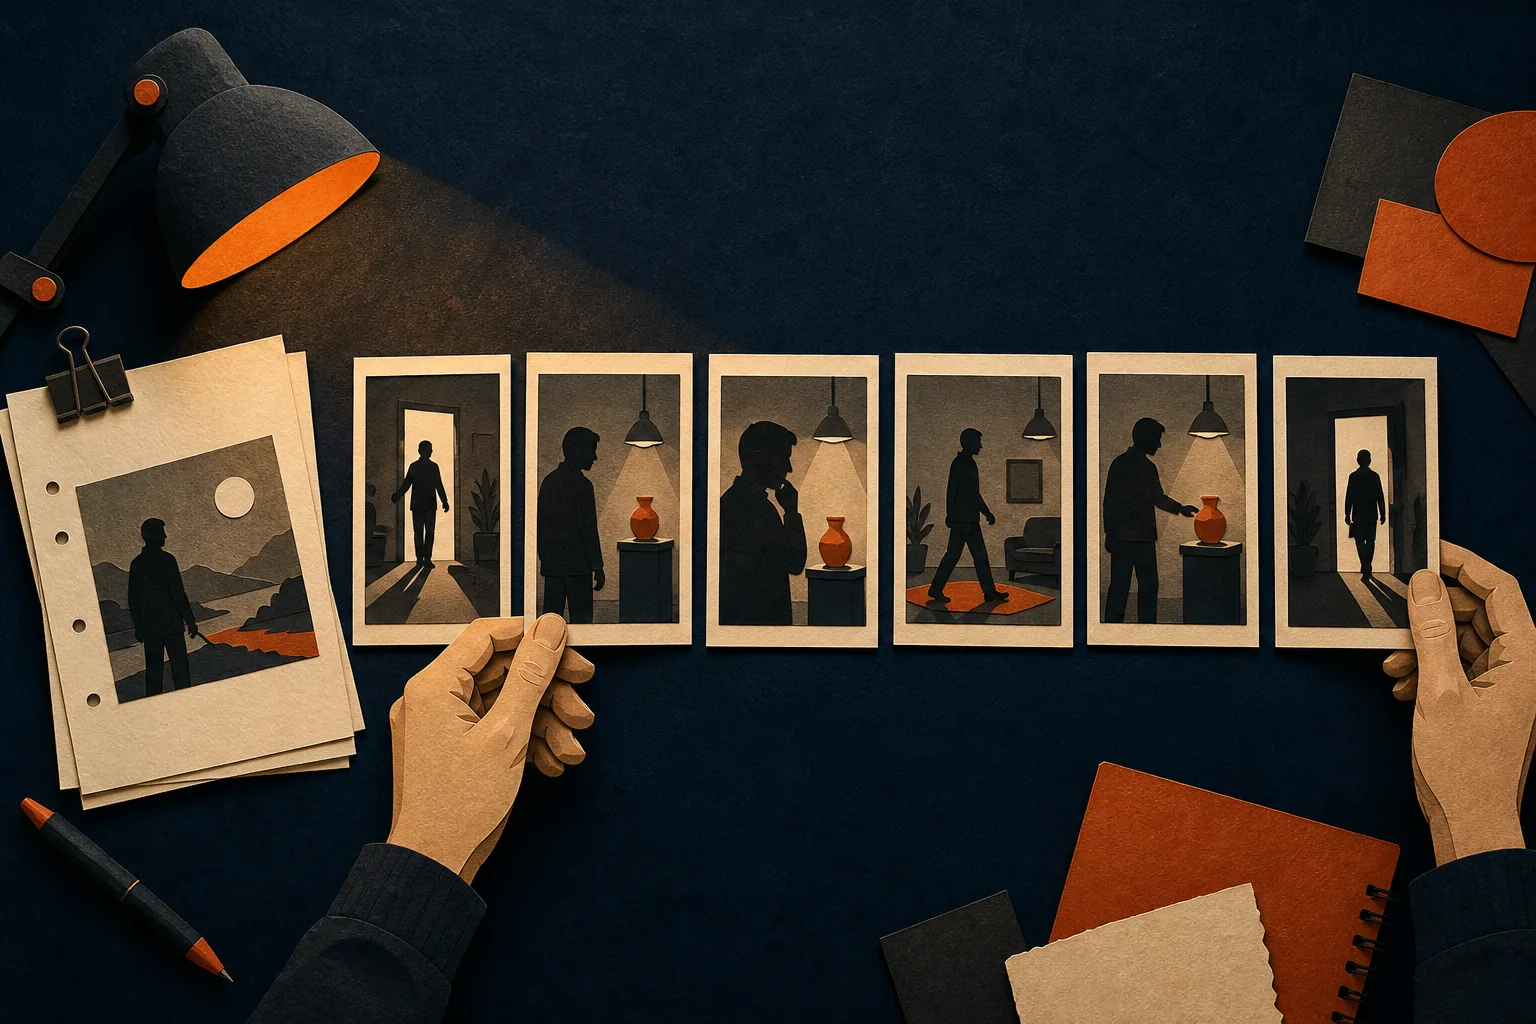
A storyboard is a set of frames that shows how a scene may unfold on screen. Each frame represents a shot or a meaningful change within a shot. Together, the frames make screen direction, staging, coverage and visual emphasis easier to discuss.
It is not a gallery of finished concept art. A beautiful frame that does not explain the next cut is less useful than a rough rectangle that makes the action clear. Storyboards help writers and filmmakers test questions before time, money and attention are committed on set.
- Can the audience understand where everyone is?
- Does the scene have a visual turning point?
- Are several frames repeating the same information?
- Which moment deserves the closest view?
- What must remain consistent from shot to shot?
Choose a scene with a visual problem to solve
Do not begin by storyboarding the entire screenplay. Start with a scene where staging matters: an entrance, discovery, confrontation, action sequence, reveal or transition. Give the board one job.
Read the scene without drawing. Write one sentence describing its dramatic movement, such as “Mara enters certain she is alone, then realises somebody has been waiting.” That sentence is the spine of the board. If a proposed frame does not help establish, complicate or resolve that movement, it may not be needed.
Break the scene into visible beats
A screenplay beat can be emotional, but a storyboard frame must show something. Mark every visible change: a character enters, an object is revealed, an eyeline shifts, somebody crosses the room, a hand hesitates or the balance of power changes.
- Underline actions the audience can see.
- Circle important objects and pieces of geography.
- Mark the moment the scene changes direction.
- Note reactions that alter what the audience understands.
- Group actions that can live inside one continuous shot.
This creates a list of candidate frames. It is a starting point, not a requirement to illustrate every line.
Decide the first and last image
The first frame tells the audience how to enter the scene. It may establish the whole room, hide a crucial detail or attach us immediately to a character. The last frame should leave us with the new fact, feeling or question created by the scene.
Place those two frames first. Then ask what visual information is missing between them. This is often easier than drawing chronologically because the sequence now has a destination.
A useful storyboard does not decorate the scene. It makes the scene's visual argument visible.
Choose each shot for a reason
Shot size changes emphasis. A wide shot explains geography and relationships. A medium shot keeps performance and body language readable. A close-up directs attention to a face, object or decision. An over-the-shoulder shot can place the audience inside a confrontation.
Use the guide to storyboard shot types and camera angles when you need a practical visual vocabulary. Avoid changing the shot simply because the previous frame looks similar. Change it when the audience needs different information or a different emotional distance.
Draw rough frames and keep moving
Use simple silhouettes, arrows and basic shapes. Draw the room once, then reuse its main landmarks. A box can be a table. A line can show an eyeline. An arrow can show a move. Add only enough detail to distinguish characters, props and screen direction.
- Keep every frame in the same aspect ratio.
- Number frames in sequence.
- Use arrows for camera or character movement.
- Write short notes beneath the image rather than squeezing prose into it.
- Duplicate a frame when only one element changes.
If drawing slows the thinking, use reference images or generated storyboard frames, then judge them by clarity and continuity rather than polish.
Check geography, eyelines and screen direction
Read the board without the screenplay. Can you tell where each person is standing, what they are looking at and which direction they move? If a character exits frame right and immediately enters the next frame from the right, the movement may feel reversed unless the camera has deliberately crossed the action axis.
Keep doors, windows, furniture and important props in stable positions. Check wardrobe, time of day and which hand holds an object. These simple continuity checks prevent the sequence from becoming visually confusing.
Edit the storyboard as a sequence
Place all the frames where you can see them together. Remove any frame that repeats information. Add a frame where a cut feels abrupt or an important reaction has no place. Look for long runs at the same distance and decide whether that steadiness is deliberate.
Then test the rhythm. Give simple shots less time and complex frames enough time to be understood. You are not locking the final edit. You are discovering whether the scene has a readable visual shape.
Build the storyboard beside the screenplay
ForgePad keeps the storyboard connected to the writing process. Select a scene, generate visual frames, refine the prompts and view the sequence without moving the work into an unrelated presentation file. The screenplay remains the source, while the board becomes a practical way to test the scene.
Return to the script when the storyboard exposes a missing entrance, unclear action or weak reveal. Return to the board when the rewritten scene changes the visual plan. That conversation between page and image is the point.
See the ForgePad storyboard feature for a closer look at the workflow.
Screenplay storyboarding FAQ
How do you storyboard a screenplay?
Choose one scene, define its dramatic movement, mark the visible beats, decide the opening and closing images, then create one frame for each necessary shot or visual change. Review the frames together for clarity, continuity and rhythm.
Do you need to be able to draw to make a storyboard?
No. Clear stick figures, simple shapes, arrows, reference images or generated frames can all work. The board needs to communicate composition, action and sequence, not demonstrate illustration skill.
Should every screenplay scene be storyboarded?
Usually not. Prioritise scenes where geography, action, visual effects, reveals, complex staging or production decisions need to be understood before filming.
How many frames should a storyboard have?
Use as many frames as the scene needs to communicate its essential shots and changes. A quiet scene may need a handful. An action sequence may need dozens. Remove frames that repeat the same information.
What information goes under a storyboard frame?
Add the shot number, action, dialogue cue if relevant, camera or character movement, sound notes and any continuity detail that the image alone cannot communicate.
Put the scene on the wall
Open the screenplay in ForgePad, choose one scene and build its first visual sequence beside the draft.
Write in ForgePad ↗